

When kitting out a NOC (network operations center) or SOC (security operations center), a common request is to have big screens showing some kind of dashboard. This may seem over the top in certain cases, but it does force the NOC/SOC team to pay more attention to a deployment’s operational status, since the dashboards are always there on the wall, rather than tucked away in some unused browser window, or worse… never even accessed. Dashboard screens also have a secondary, though equally important function. If executed correctly, they can be visually impressive and appealing to management. They make it very easy to grab management’s attention as they walk by and provide the ideal icebreaker to explain to management / customers what exactly the NOC / SOC department does, and they show an actual return on investment in the NOC / SOC team.
That said, it can be a pricey proposition to have such a setup, depending on your kit. In our case, we had enough space for four big screen TVs. Unfortunately the TVs were not smart TVs, and so had no inbuilt browsers. Hence we wanted something power efficient, small and cheap to show a browser that in turn displays our various dashboards. The raspberry pi seems like an ideal choice here. At $35 a pop, they are extremely cheap and small. Setup using NOOBS to install Raspbian was a breeze. After installation, a couple of points to note:
- We had to install chromium as a browser since the pre-packaged lightweight browsers were not capable of rendering everything on the dashboards
- By default, the screensaver is enabled. In order to disable this easily, simply ssh into the Raspberry Pi and install xscreensaver via:
sudo apt-get install xscreensaver
Once installed, via the GUI click on the menu > preferences > screensaver and disable the screensaver
- Having to connect a KVM / mouse and keyboard to manage multiple pi’s is a chore. The easiest way to remotely manage a display is via VNC. However, by default most VNC servers will create a new session and display a desktop which is not the one being displayed on screen. To get around this, we installed vino vnc server via:
sudo apt-get install vino
Next, on via mouse and keyboard or by X forwarding over ssh (one time only), type in:
vino-preferences
This will display a VNC preferences dialogue box like so:
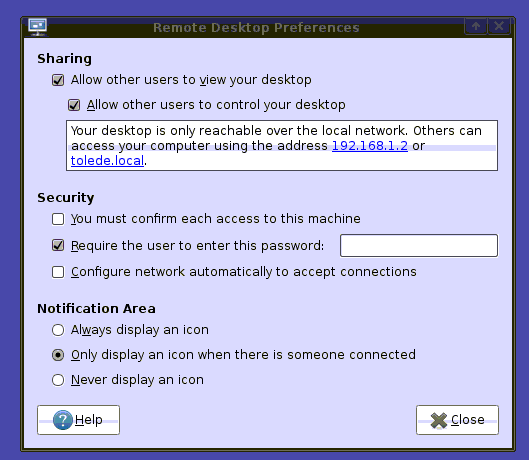
Make sure to allow other users to control your desktop and deselect the option “you must confirm each access to this machine”.
Then via command line you can execute:
export DISPLAY=:0.0
/usr/lib/vino/vino-server &
You should also insert the above into a startup file such as rc.local to have the vnc server start automatically.
Overall Impressions
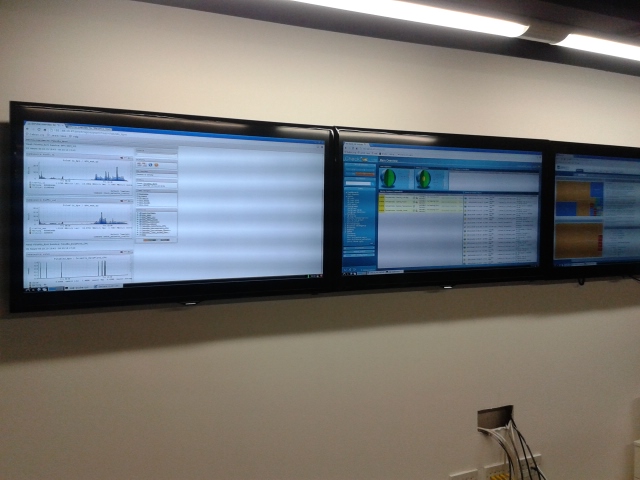
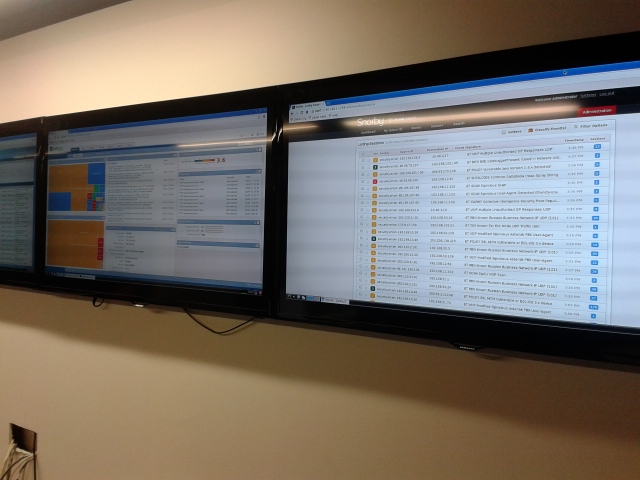
It’s not a bad setup. Being such a small machine, the raspberry pi does sometimes struggle to render content-heavy pages (you will periodically see the CPU spike to 100% and get stuck there), but this is offset by the insanely cheap cost ($350 with shipping and all bits and bobs including power supplies, cases, and so on…) and power efficiency. They do the job very well. Here’s some pictures of our results:
Update 9/04/2014:
Another way to get VNC access is by using x11vnc as follows (logged in as user “pi“):
export DISPLAY=”:0.0″
xhost +
x11vnc -display :0.0 -forever

Hello,
You mean 35$ instead of 350$, right?
Hey Frank
You’re right though I left out that I bought 4 raspberry Pi’s, at $35 each. So that, including power supplies, cases, SD cards, for each, and shipping, amounted to about $350… quite a fantastic price point
Dave , what are you using for software on the screens?
i see palo alto and snorty, are the others Nagios and something else ?
looking myself to extend the setup at my work.
Still want to visualize DOS+ DDOS and hack attempts however cant find the software for that ?
any suggestions ?
Hey Ralf!!! There are two nagios based screens: check_mk and pnp4nagios, then yes as you say Palo alto and snorby. Snorby and Bro ids are good places to start as IDS vs hacking attempts. Also have a look at AlienVault with OSSEC. For DDoS unless you use a cloud service like Cloudflare your best bet is monitoring your bandwidth using nagios + pnp4nagios…. Hope that info helps?