
I had no idea the WebAuthn API even existed until I came across this article by @herrjemand. In that article, the author used WebAuthn to automatically generate and save
passwords in the Chrome credential manager. What more can this browser API do? How would you use it?
What is WebAuthn – and why the buzz?
We know passwords are a necessary evil. Credential managers are a hassle to setup and use, passwords are re-used across sites and applications – and we often choose weak or easily-guessed passwords.
WebAuthn is oft touted as a “password killer”. We’ve seen these types of APIs/SDKs before – TouchID, FaceID, Windows Hello, and so on. The difference here is that WebAuthn is an Open Standard ratified by W3C. The buzz around this API is justified because it seems that all major vendors are rallying behind it… Chrome, Firefox, Microsoft Edge all support it, Windows has added support for WebAuthn in their OS, and even Apple has made movement towards it
Right off the bat – we can use WebAuthn to easily enable biometric login to our mobile websites (that’s what we’ll explore in this article), but the API is even more ubiquitous and powerful when you use several hardware keys which store your credentials for you, such as those provided by Yubico.
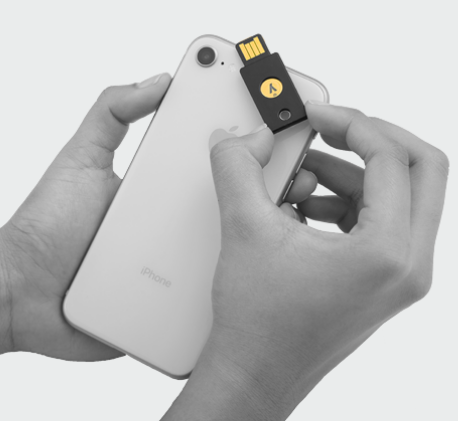
Yubico have USB and NFC powered modules, which make password-less logins a breeze. Your users would be asked to simply tap their NFC key to their phone, or insert their key into their PC USB port, and access is granted appropriately. In CES 2019, the company also showcased lightning port keys for Apple devices:

What will we be building?
Now that you’re convinced you need to try this out, what do you need as a web developer? In this article I’ll document my own experiences in answering this question. My aim was to:
- Build the simplest possible react JS app possible that showcases the WebAuthn API
- Run the app on my Android Phone (currently a Nexus 5) and try out fingerprint login to the JS app. I dont have any Yubico keys to try out so this biometric test is the next best thing to test
- No server side code – there are plenty of more complete examples out there but I want the bare minimum to get going and understand the API
The build
Generating the ReactJS app
I used create-react-app to quickly create a working app, and served it using ngrok to easily reach the app from my mobile phone. Once your create the app and start the dev server along with ngrok you should have a bare minimum react app you can reach over HTTPS on your phone, in three commands:
create-react-app web-auth && cd web-auth
yarn start

# in a seperate window
# port 3000 is the same as that used by yarn above
ngrok http 3000
I simply added two buttons to the generated code, one to “enroll” a user, the other to validate their credentials in subsequent visits:
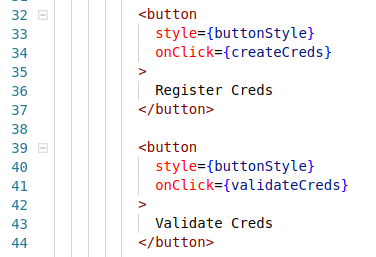
We need to define the two functions (“createCreds” and “validateCreds“) that the buttons execute when they are clicked
The WebAuthn Functions
The whole API revolves around two main calls:
- navigator.credentials.create()
- navigator.credentials.get()
The full code is in the Github Repo, specifically in the “webauthn.js” file. The code is very well documented, but here are a few pointers:
- The biggest challenge was to find the correct format for the input arguments of the above two calls. In particular, quite a number of fields expected or returned a Uint8Array (Byte Array), which made inspecting the data difficult. Also, most of the documentation said that the data was base64 encoded, but using plain btoa() and atob() didn’t quite work. You need to use”charCodeAt()” to charted to a byte after it has been base64 decoded.
- With the above Uint8Array challenge in mind, remember that “TextEncoder()” is an easy way to convert Strings to raw Bytes.
- In the sample code, I store everything locally on the client using localStorage. This to avoid requiring a server. Obviously – don’t do this in production. Your server should generate the publicKey requests – I comment this in the appropriate places in the code.
Results
This is what the app looks like:
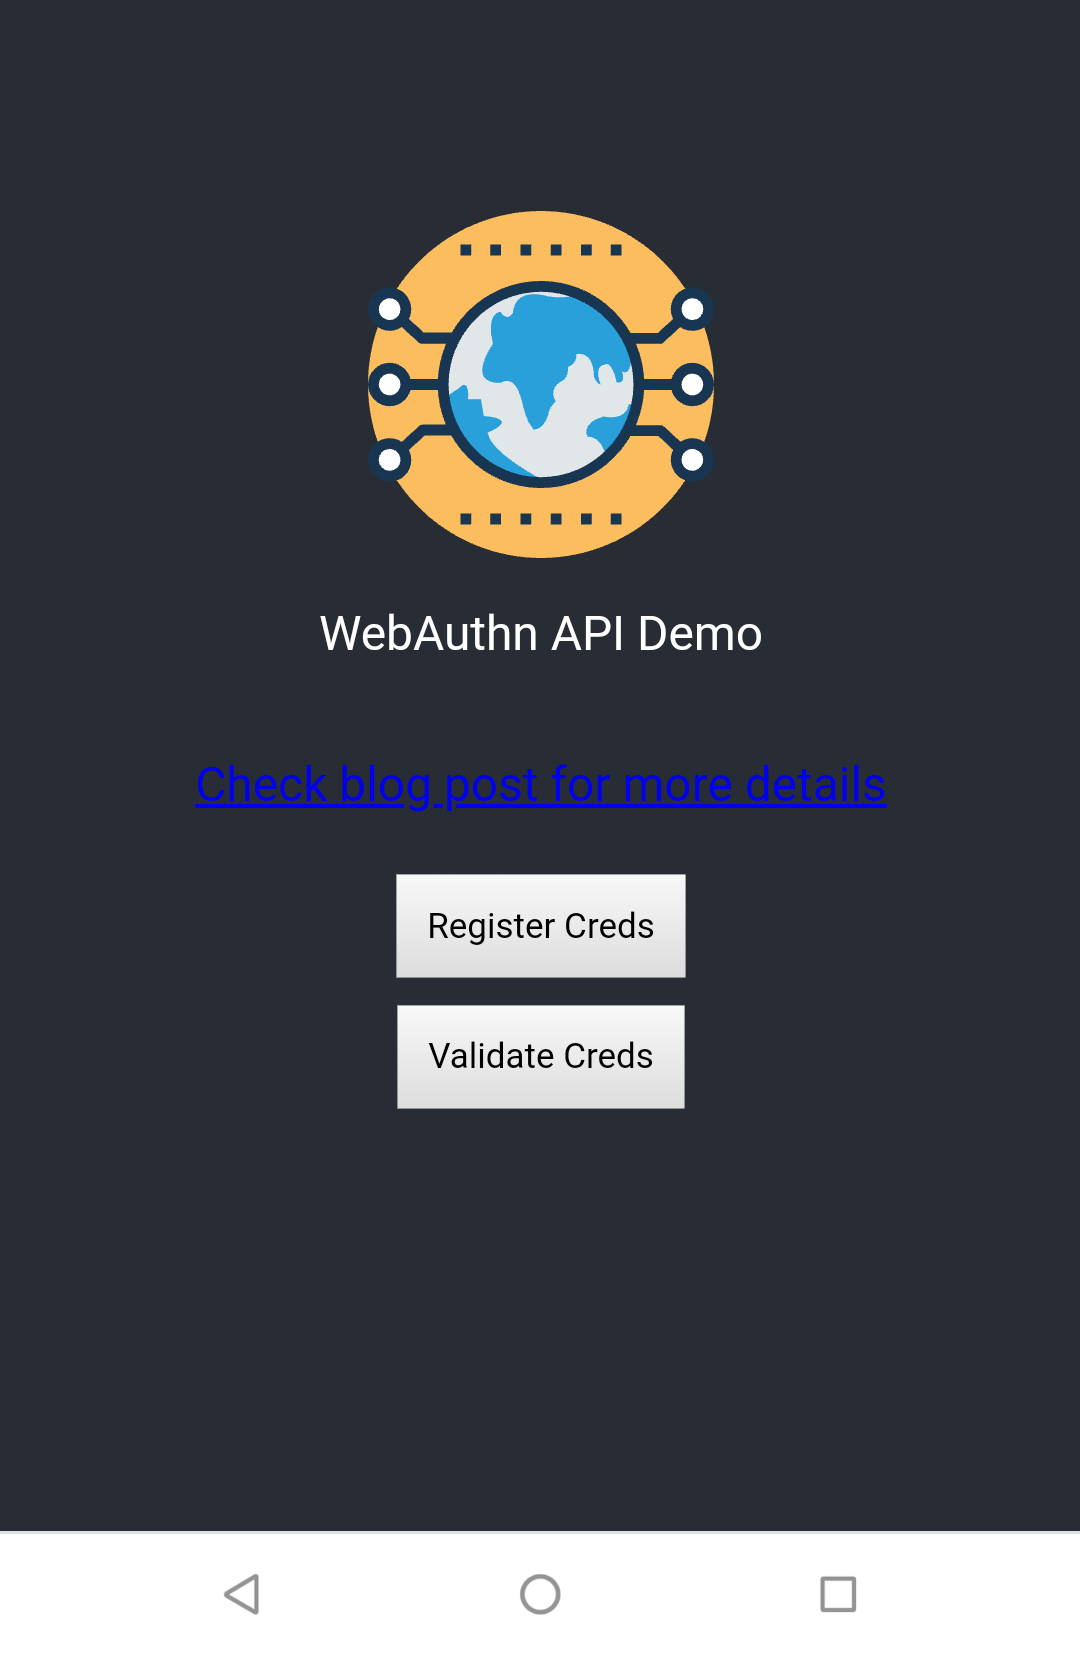
Enrollment / Registration
When the “Register Creds” button is tapped, that fires off the “navigator.credentials.create()” function, which hands off control to the browser to enroll a user. The user is prompted to kick off the process:

If the user accepts, they are given a number of options:
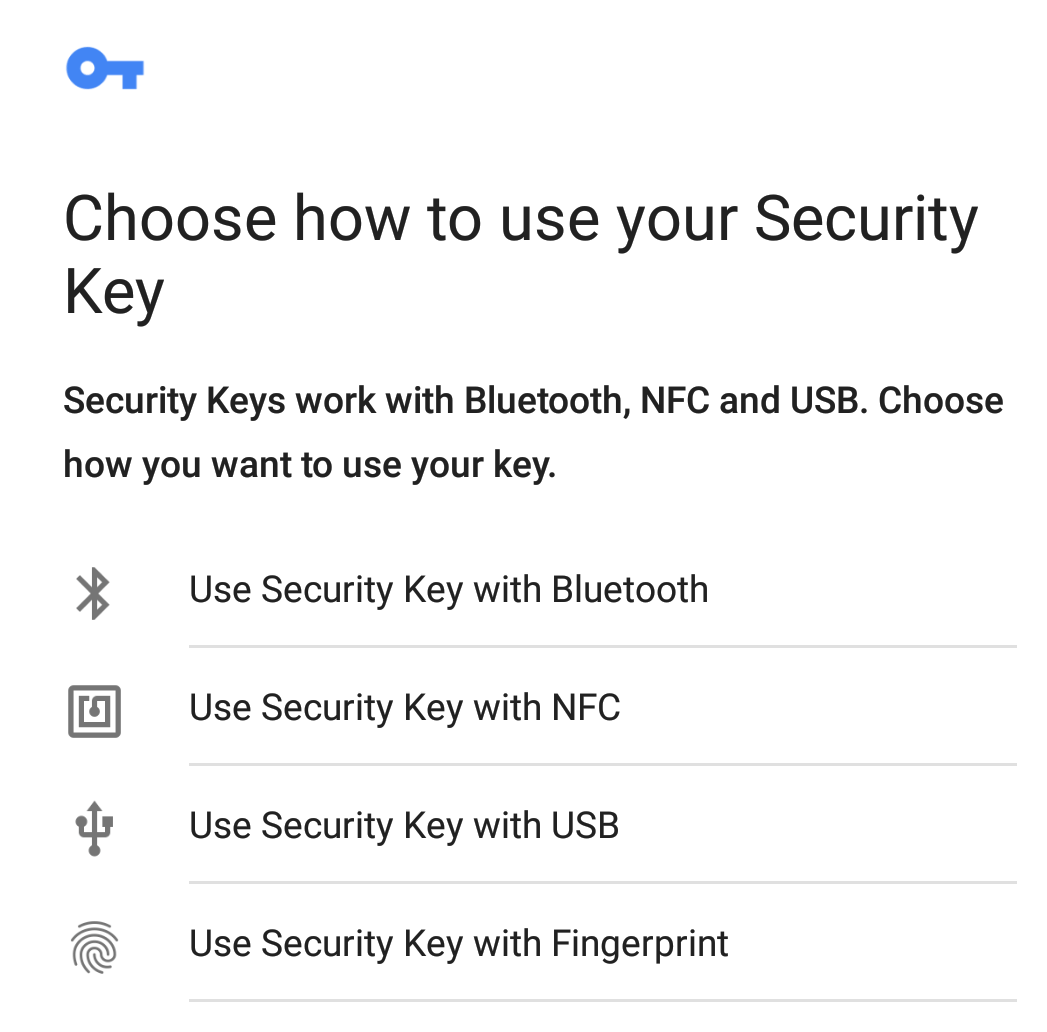
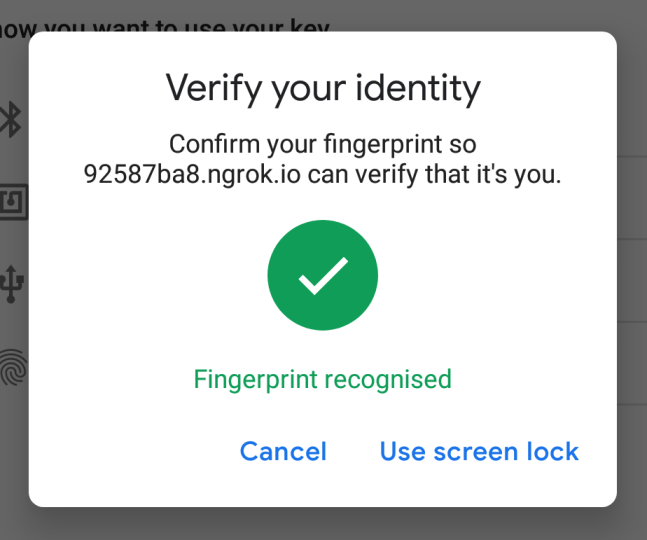
Note the NFC / USB / Bluetooth options… these would be selected if you had a hardware dongle like Yubico. We’re sticking to “fingerprint”, and get asked to enroll our fingerprint:
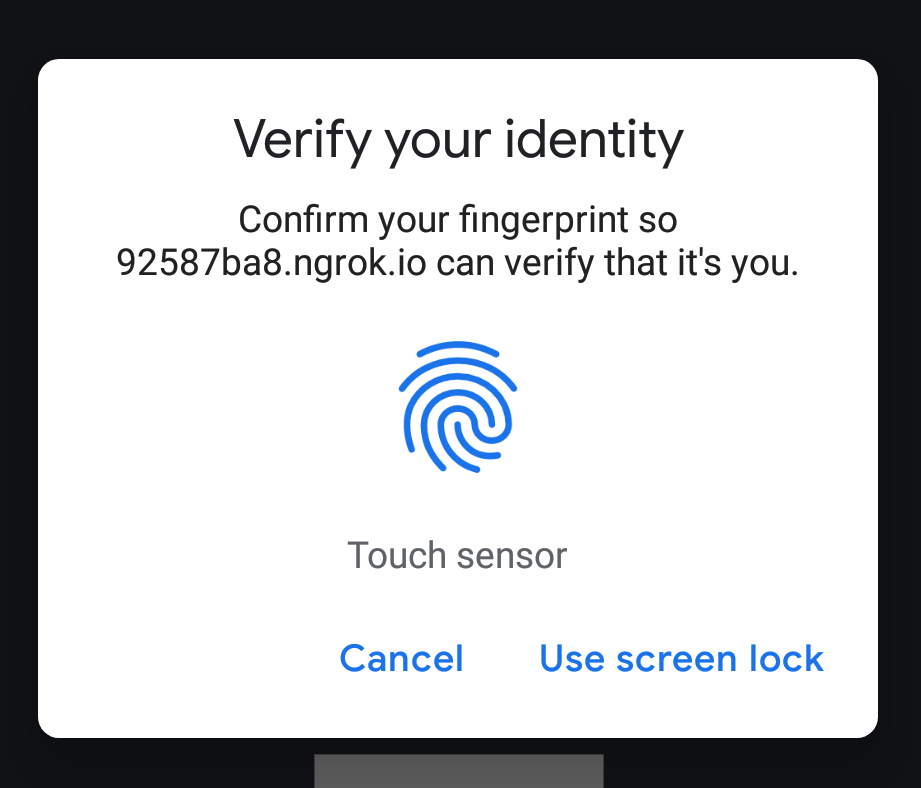
If our fingerprint is recognised by the Android OS, then it’s successfully registered:

Authentication / Verification
If we now tap the “Validate Creds” button, the function navigator.credentials.get() is called and the browser kicks off the verification process:
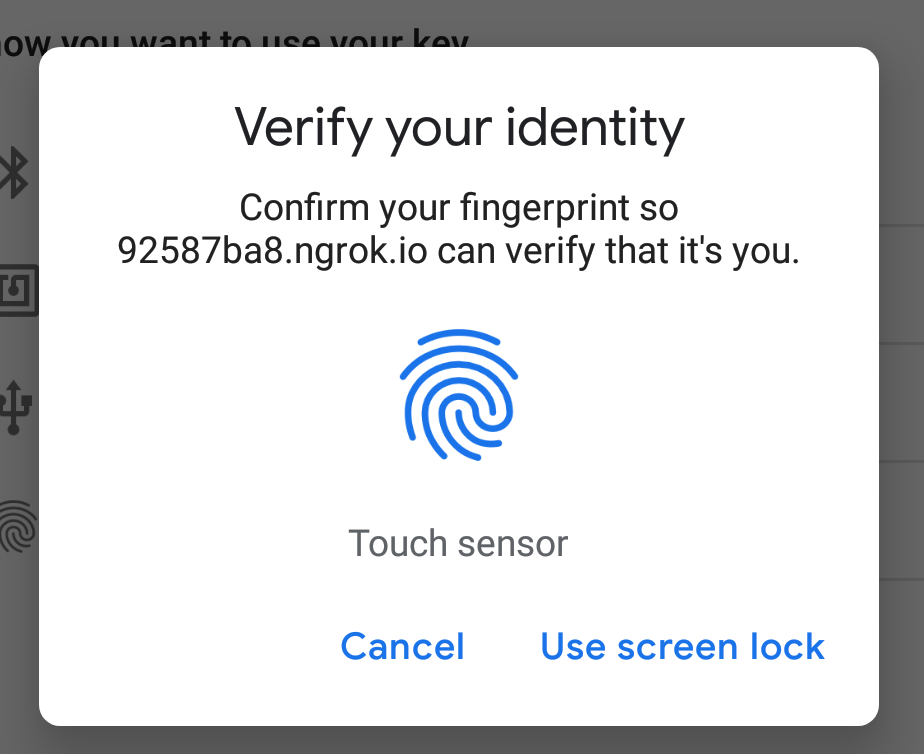
Hint: if at this stage, you get an enrollment prompt (“Use your security key with example.com“), or you’re given the option to again choose between Bluetooth / NFC / USB (but no fingerprint option), then you’ve provided navigator.credentials.get the wrong allowCredentials id:

It’s important that the “id” field exactly matches the rawId / id that was sent back to the server by the client when it first enrolled.
If everything is authenticated, the app will alert the user, like so:
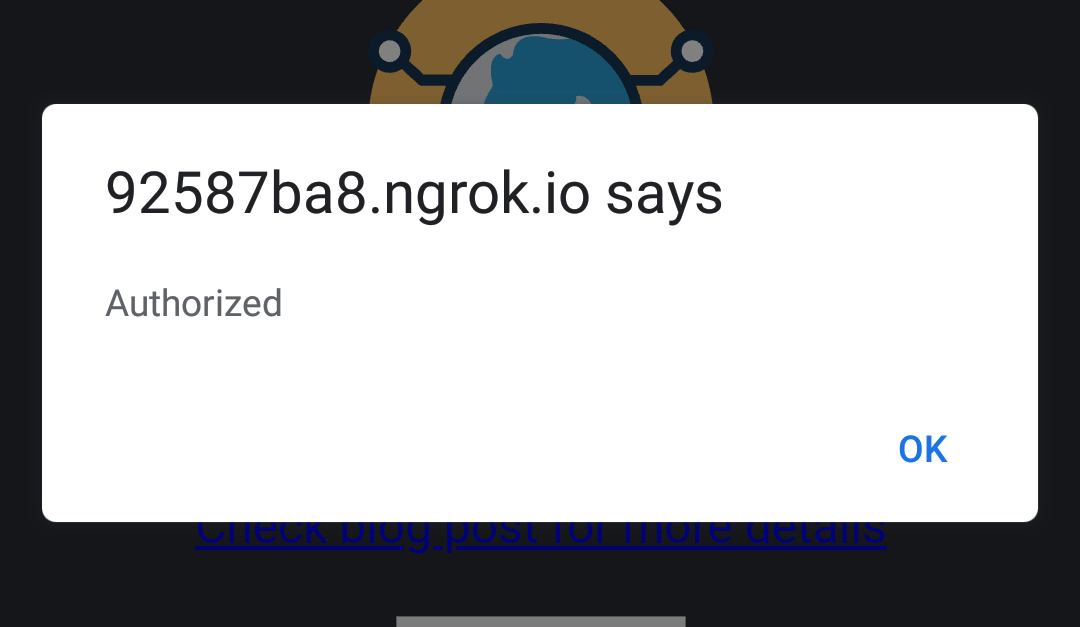
As i’ve commented in the source code, the app does a very basic check, namely checking that the client successfully returned the same “challenge” that the server sent it. However, more rigorous checks should be enabled, such as:
- making sure “retrievedOrigin” is what you expect (typically your website domain). If this check fails the user is probably being phished
- full list of checks outlined here: https://medium.com/@herrjemand/verifying-fido2-responses-4691288c8770
Github repo
The full code for this experiment can be found here:
https://github.com/dvas0004/web-auth
Useful links
- Good intro and explanation: https://medium.com/@herrjemand/introduction-to-webauthn-api-5fd1fb46c285
- Good initial code for sample JS app.. incomplete though: https://auth0.com/blog/introduction-to-web-authentication/
- WebAuthn Demo site (includes code for a very complete Java-based back-end too…): https://webauthndemo.appspot.com/
- Finally a good implentation of binToStr (binary to base64 string) and strToBin (base64 string to binary): https://github.com/google/webauthndemo/blob/9a723910f7fbada4008b94c962d8d44076050af9/src/main/webapp/js/webauthn.js#L377
- The official Mozilla Dev documentation for navigation.credentials: https://developer.mozilla.org/en-US/docs/Web/API/CredentialsContainer

You must be logged in to post a comment.